Extension Vault
Complete this tutorial to install the XPLA extension vault for the web browser.
Prerequisites
- Download Google Chrome or Mozilla Firefox.
Install the XPLA Vault Extension
- Open your browser and visit the link below corresponding to the browser.
- Install the extension and add it to your browser.
Create a Wallet
Use this tutorial to create a new wallet. To connect to an existing wallet, visit how to connect to a wallet.
Open the browser extension and click New wallet.
Type in a secure wallet name and password.
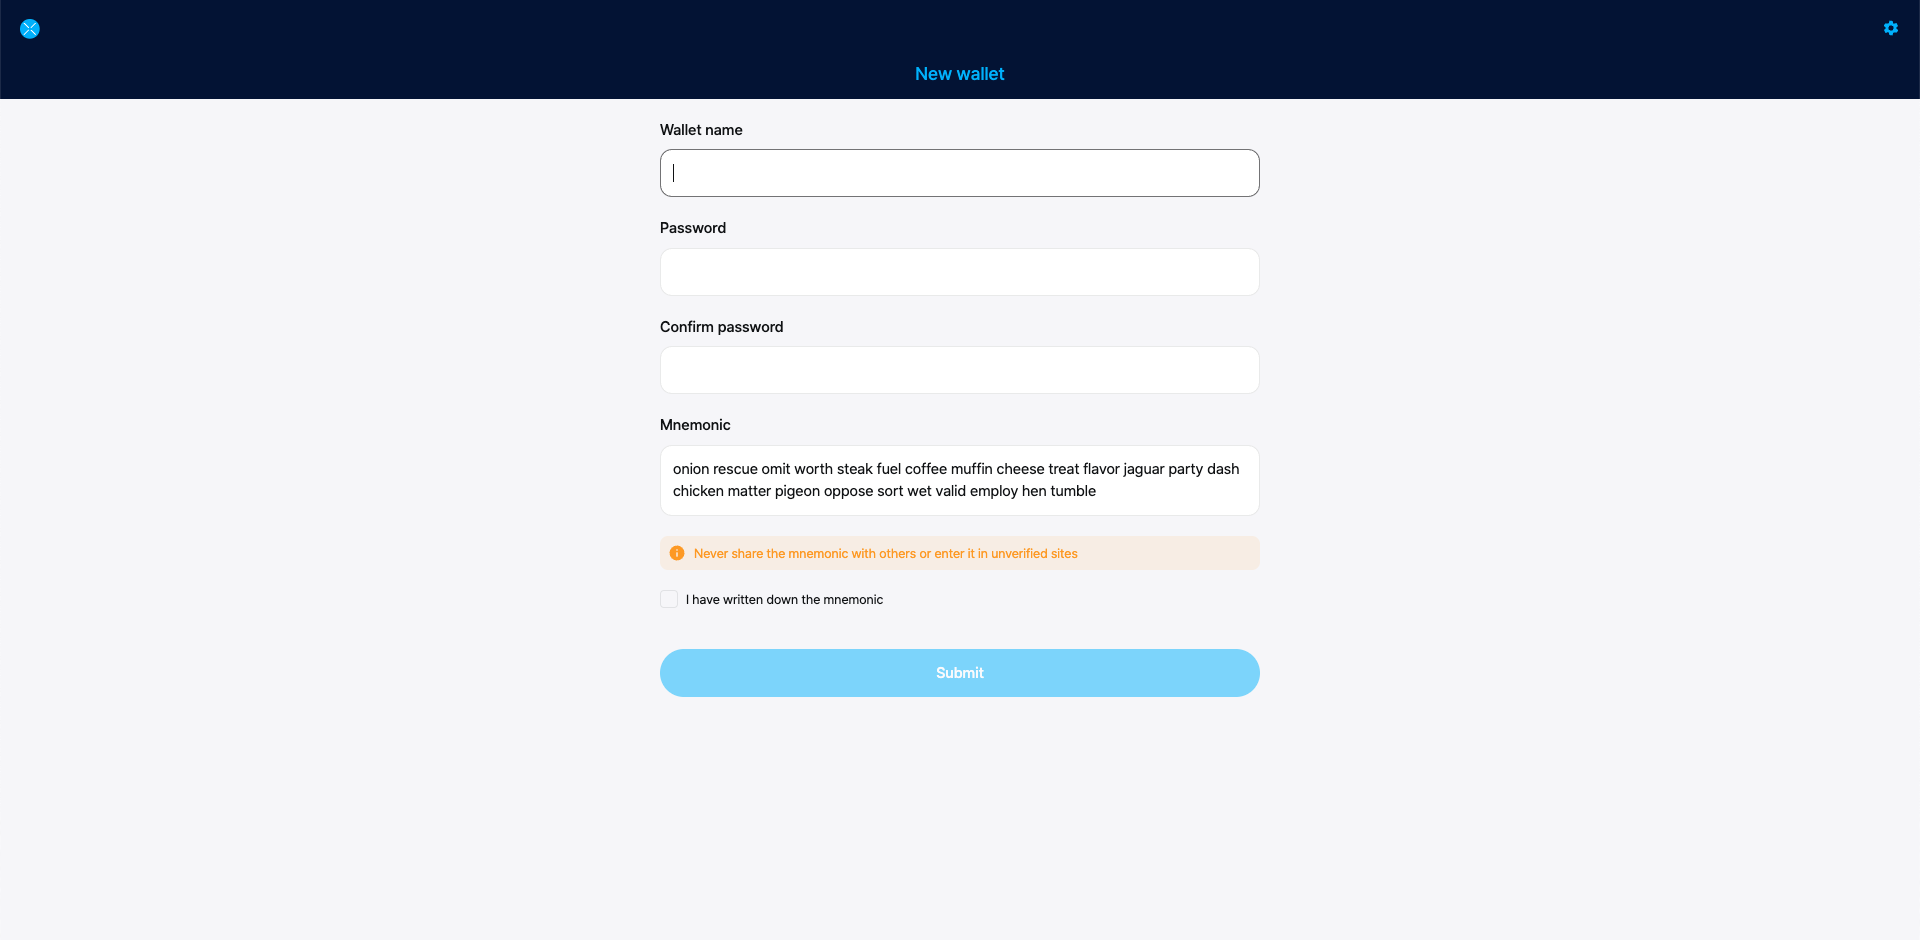
Confirm your password.
Using a pen and paper, write down your 24-word mnemonic exactly as it appears. Number each word to make verifying easier.
Protect your mnemonic keys
Anyone with your mnemonic phrase can access your money, and there is no recourse for someone stealing your mnemonic phrase. To protect your mnemonic phrase, consider the following tips:
- Never save or store your mnemonic phrase as a digital file on any device.
- Always write down your mnemonic phrase with a pen and paper.
- Store the paper with your mnemonic phrase on it somewhere safe.
- Never give your mnemonic phrase to anyone, not even support staff.
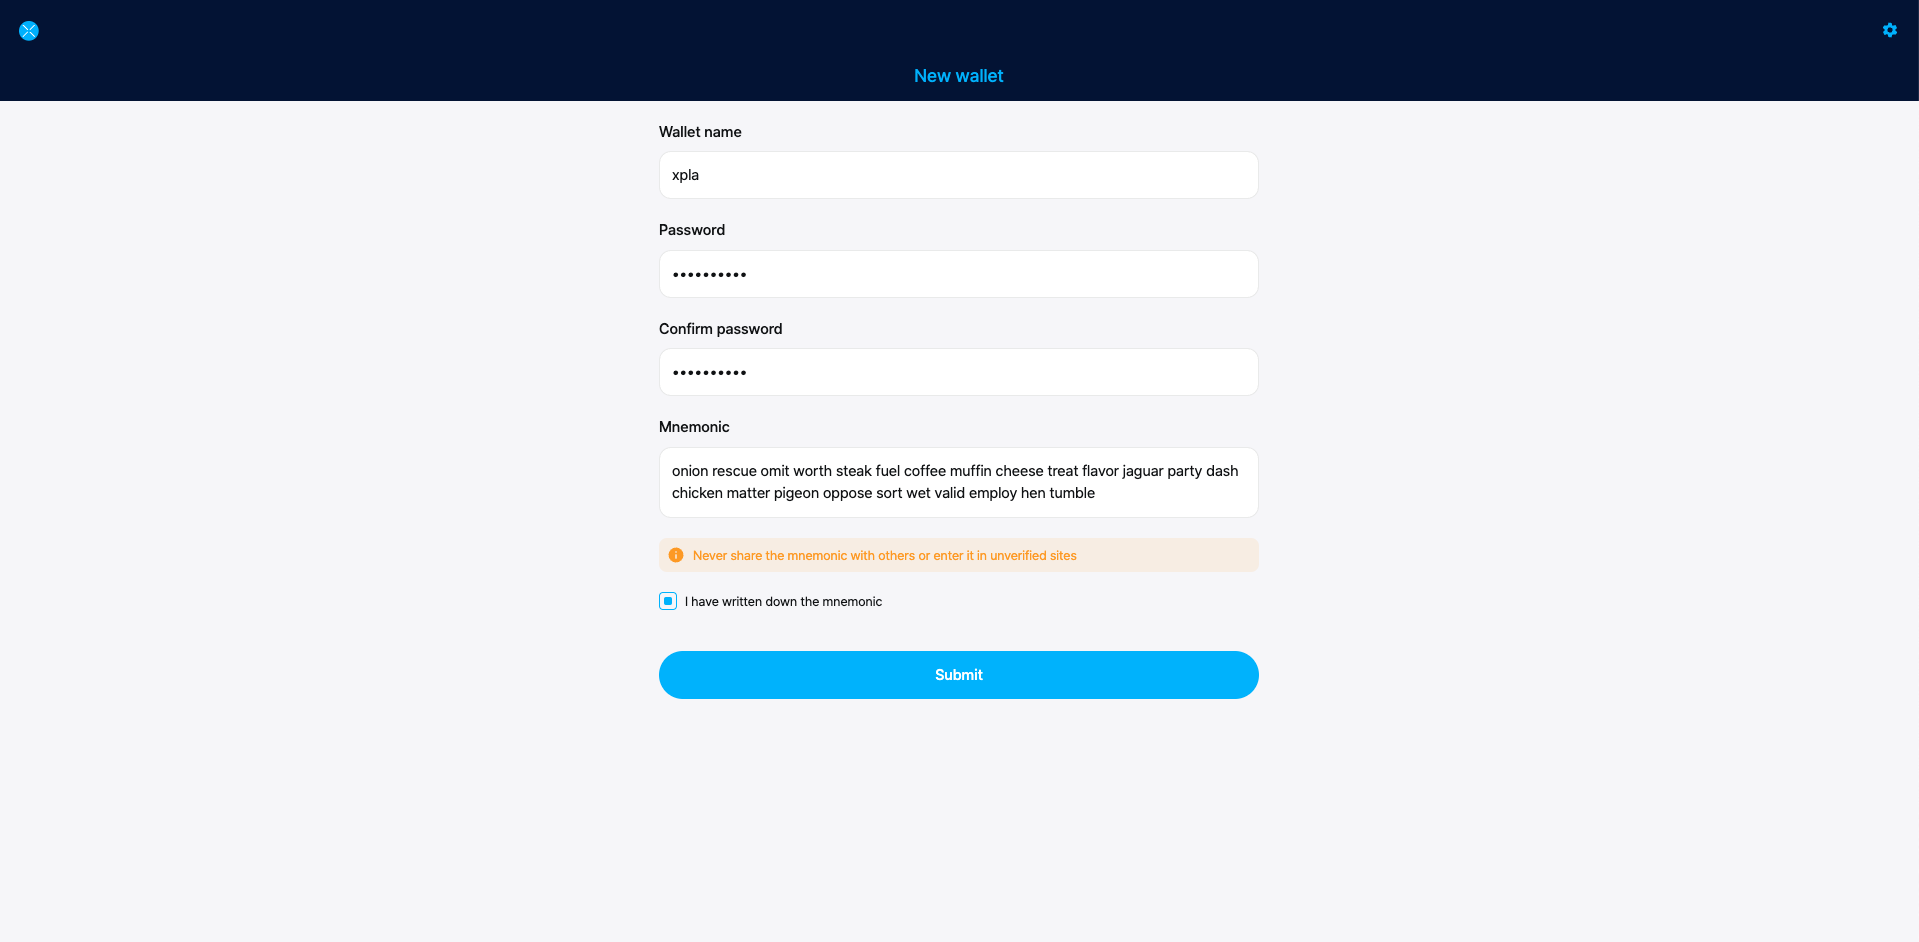
Verify your writing to make sure every word is spelled correctly and in the right order. If you numbered your phrase, it can be helpful to verify it backward.
Check the box ensuring you wrote down your mnemonic, and click Submit.
Confirm your mnemonic phrase by typing or selecting the correct words in each prompt.
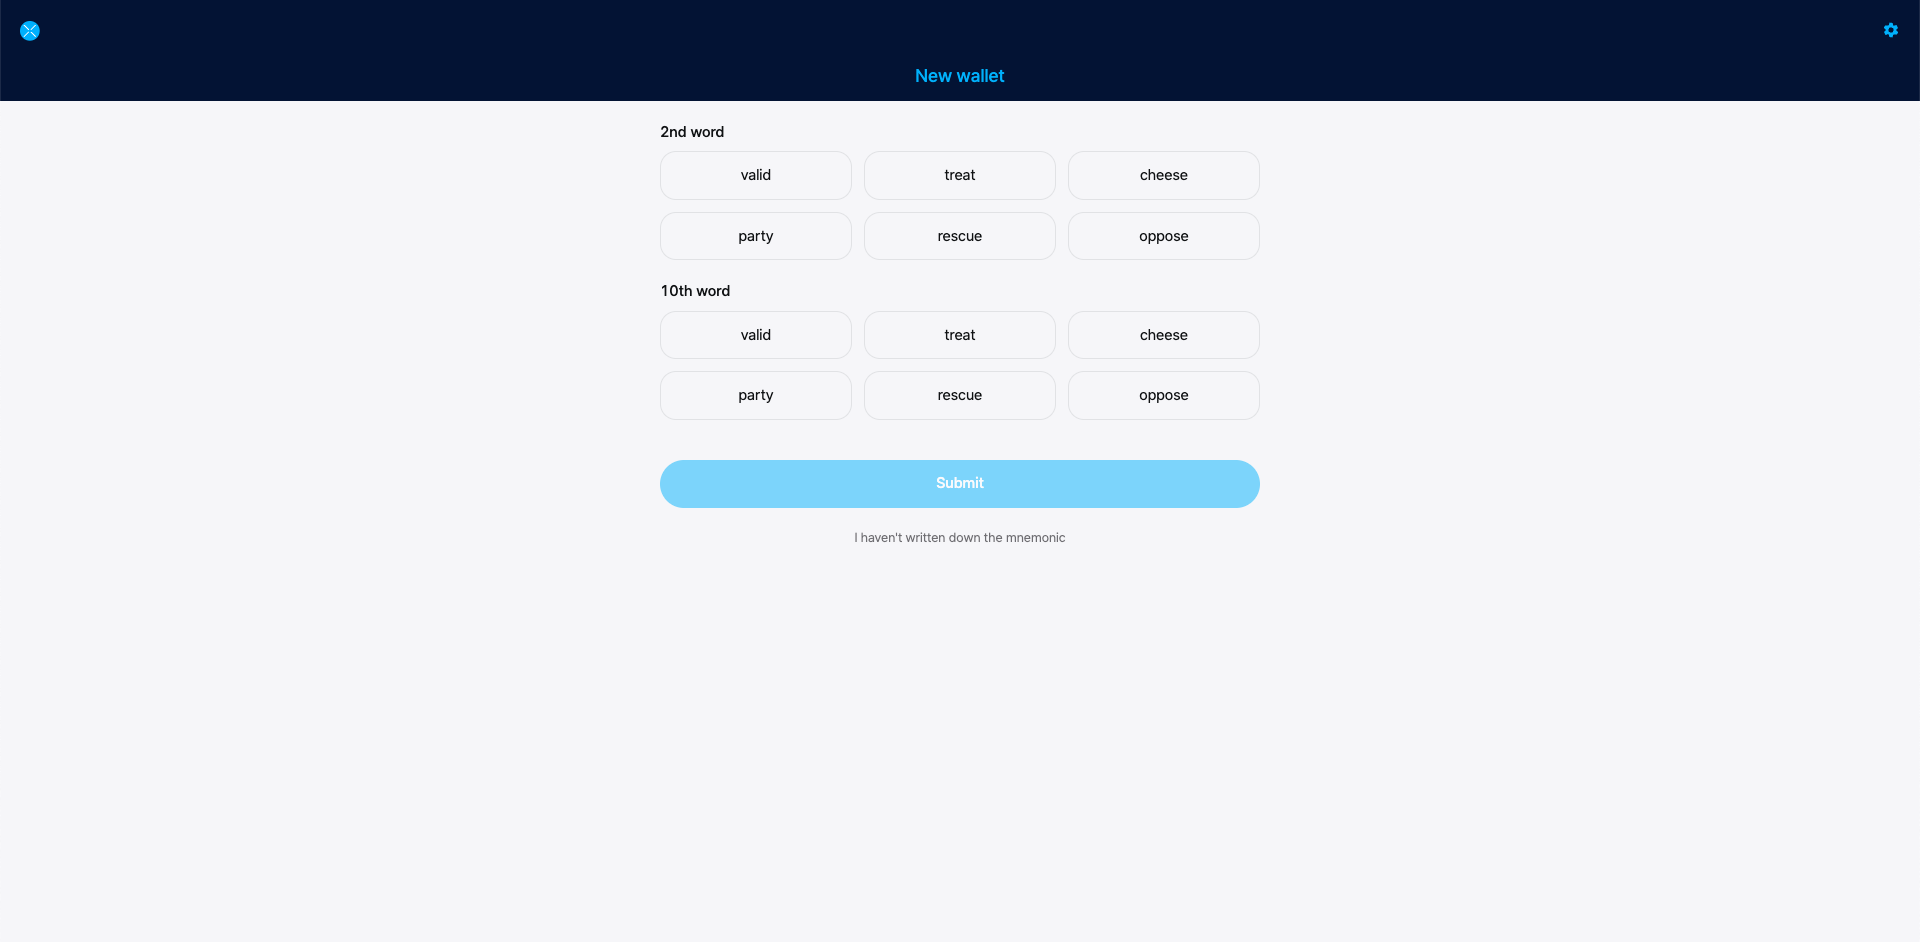
Click Submit.
Click Connect to connect to your new wallet.
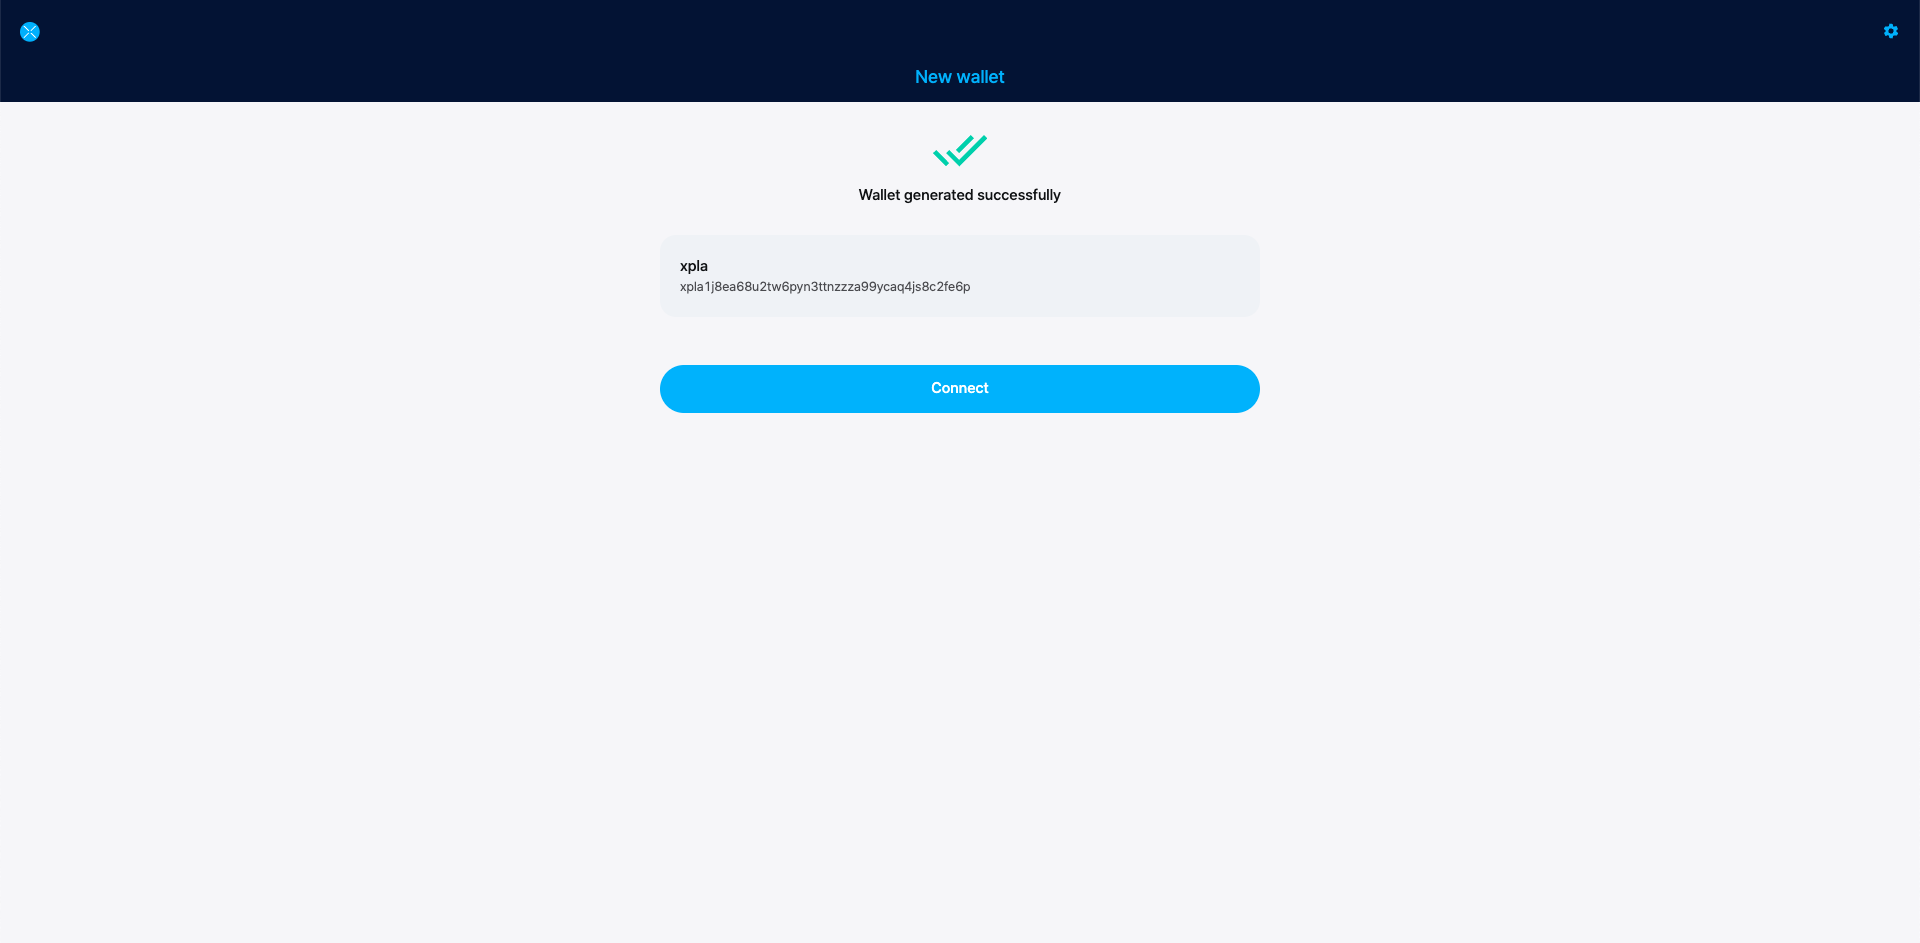
Congratulations! You have just created a XPLA Vault.
Send Tokens
Open the XPLA extension vault and connect to your wallet.
Click Send next to the token you want to send.
Enter the address of the wallet you want to send tokens to.
Enter the amount you want to send. You can also add a memo for the transaction.
Verify the transaction amounts and address. Remember to always leave enough tokens in your account for other transactions.
Enter your password and click Submit.
After a few moments, the tokens will appear in the receiver’s wallet.
Next Steps
For on-the-go transactions, check out the XPLA mobile vault app. To learn how to use other XPLA Vault features, visit the XPLA Vault guides.